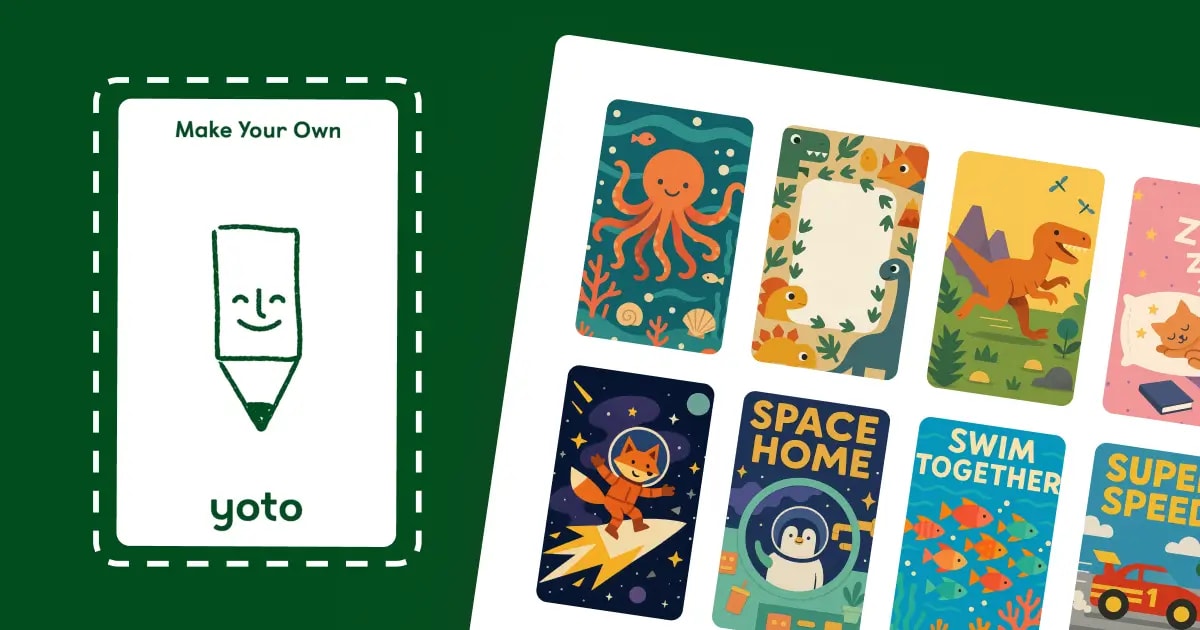
Spent months creating label sheets the hard way. Downloaded templates, positioned images in grids, adjusted spacing. Worked fine but ate up Saturday mornings.
How label sheet creation got simpler.
The Traditional Label Sheet Method
Parents create label sheets different ways:
- Pre-made Canva designs passed around Facebook
- Google Slides grids from parenting blogs
- Printable PDFs with placeholder boxes
- Avery layouts modified to sort-of-fit
Here's what that looks like:
Standard label sheet workflow:
- Track down a template that matches your paper
- Load it in whatever software you have
- Drop images into each grid square
- Nudge everything until alignment looks right
- Double-check margins won't get cut by printer
- Cross fingers and export
Per sheet: 20-25 minutes. The tedious part is placing and aligning 9+ images individually.
What I Do Now
My son kept requesting new themes faster than I could format sheets. Needed something quicker.
Current workflow:
- Select 9 images from my phone or computer
- Choose paper type from dropdown
- Tool builds the grid layout
- Print the PDF
Per sheet: Under 5 minutes. Runs locally in the browser—nothing leaves your computer.
The spacing math happens automatically based on which paper format you selected. No fiddling with measurements.
For DIY Label Sheet Creators
Some folks enjoy building custom layouts in design programs. Makes sense for themed collections or adding personalized text to each label.
Finding pre-made templates:
Yoto parent groups on Facebook occasionally post label grids. Results are mixed—some haven't been updated, others want your email first. Parenting blogs sometimes offer them but often behind newsletter signups or with strange paper dimensions.
Whatever fits your process works. No single right method.
Building from scratch:
Using Canva:
- Start with page dimensions matching your printer paper
- Create 3×3 grid with guides
- Size each section to 54mm × 85.6mm plus margins
- Duplicate for future batches
Using Google Slides:
- Set custom dimensions (8.5" × 11" or A4)
- Insert table for structure
- Configure cells to 2.1" × 3.4" each
- Leave space between for cutting
Using Adobe tools:
- New document at paper size, 300 DPI minimum
- Build 3-row by 3-column layout
- Individual label specs: 54mm × 85.6mm
- Add bleed area for trimming errors
The automated approach eliminates setup steps. But sticking with manual templates is fine if that's your preference.
Paper Capacity Reference
Actual label counts per sheet type:
- Letter (8.5" × 11"): 9 labels in 3×3 arrangement
- Legal (8.5" × 14"): 12 labels in 3×4 arrangement
- A4: 9 labels in 3×3 arrangement
- A5: 4 labels in 2×2 arrangement
- 4×6 photo paper: 2 labels in 2×1 arrangement
Tool figures out optimal placement for whatever you're printing on. Zero manual calculations.